


Geen categorie, Yoga, Yoga Asanas
One of my favorite warm-ups: The Golden Seed
The Golden Seed Sequence
This Golden Seed Yoga Sequence has been first created by Paul and Suzee Grilley.
Bernie Clark created his on version as ell that you can find on gaia.com It is a really nice mixture between Yoga & Qigong and Tai Chi. I will share my version of the Golden Seed Sequence that I have been using for years in my classes.
The sequence is a gentle Yang Sequence, as it activates the muscles, creating heat and warmth in the body.
The Qi (vital energy) around the hips and the lower back is the focus while efficiently opening the body completely.
Before you do the Golden Seed Sequence, it is important to understand that there are two fundamental concepts in Chinese medicine: Qi (energy) and Yin & Yang.
Qi refers our vital energy (similar to Prana in the Indian Philosophy) and Yin & Yang refers to the harmony of all the opposite elements and forces that make up existence.
In the Chinese perspective, Qi is the energy in the broadest sense possible. It is all the manifestation of energy in us and around us. Yin & Yang are manifestations of Qi with opposite qualities in them.
Yin and Yang are opposite vital energies. Yin refers to energy that is solid, heavy, cold, moist, cooling and passive. Yang refers to energy that is light, hollow, hot, dry, warming and active.
The Golden Seed Sequence
Golden Seed Yoga Sequence helps boost energy in the body and hence can be included in flow yoga sequences.
Golden Seed Yoga Sequence is considered both a warm-up and a cooling down sequence depending on the pace and if you focus more on the Yin or on the Yang aspect doing the sequence.
The Golden Seed Sequence can prepare the body for more intense yoga poses or as part of a Vinyasa or Hatha Flow class.
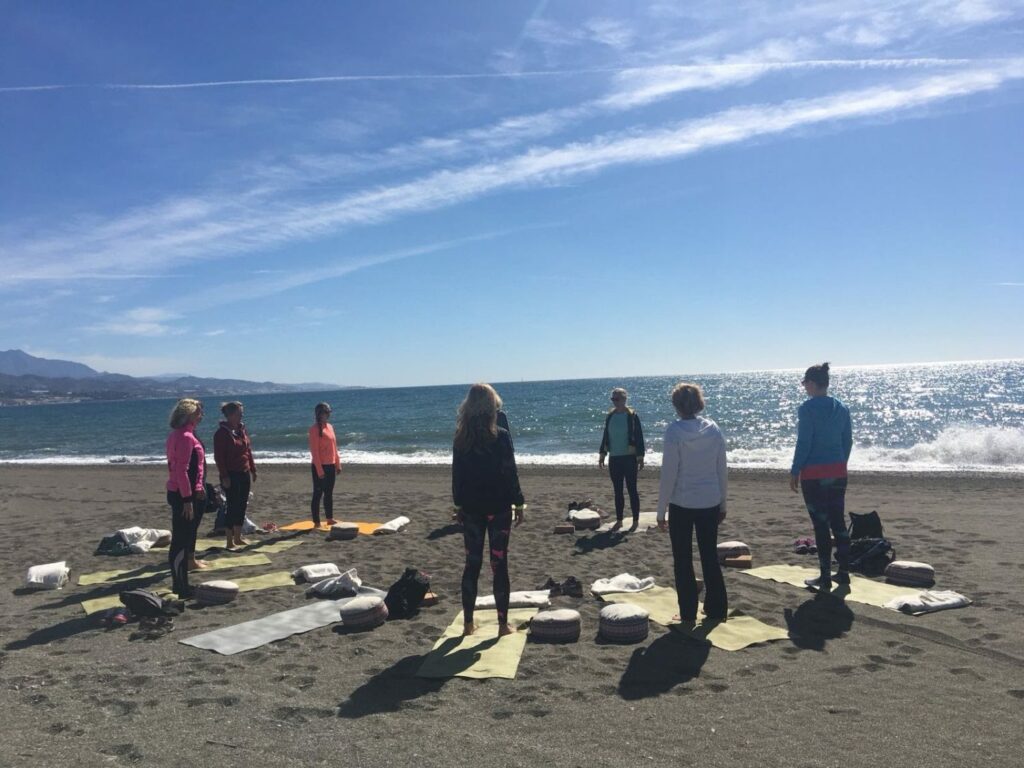
I include it often in my beach workshops around the water theme.
But on the other hand it is as well a great sequence to include in a Yin Yoga class.
If you do it with a peaceful energy, focussing on a yin like breath is it a great element of the Yin yoga class. I often use it in my Yin & Yang Classes.
The whole idea behind the Golden Seed Sequence is the opening of the spine and chest along with forward bends and twists.
Anatomy
Golden Seed Yoga Sequence benefits the following muscles and hence can be included in yoga sequences with the corresponding muscle(s) focus:
- Lower Back
- Psoas
- Upper Back
- Arms and Shoulders
- Core (Abs)
- Legs /Hamstrings
- Chest
- Hips
- Knees
The Sequence in steps
All posures in the Golden Seed Yoga Sequence are done in a flow, moving from one pose to another with perfect coordination of inhalation and exhalation. There are various variations of this sequence. This is my interpretation that I like. These yoga poses are explained in a step-by-step method
given below:
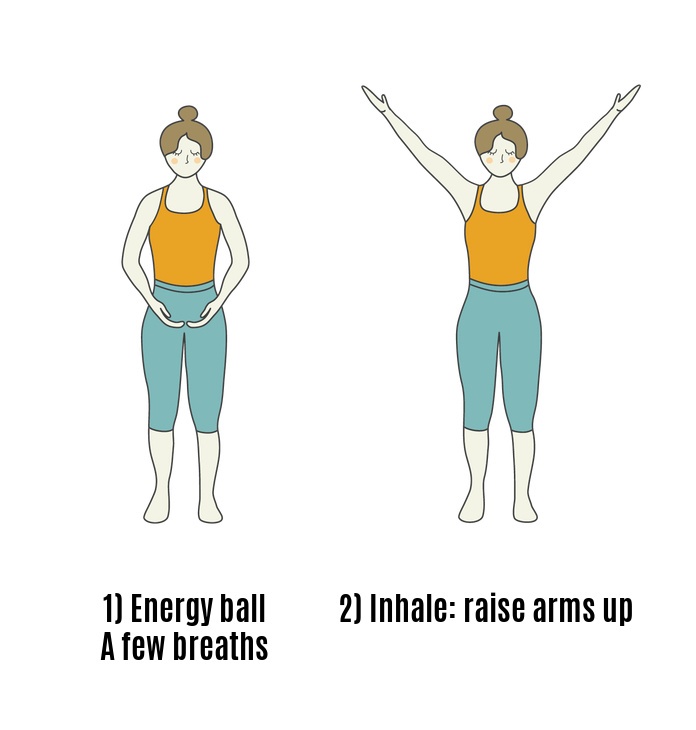
- Stand at the center of the yoga mat with feet at one-foot distance. The toes should point forward while pressing down firmly on the floor. Place the arms in front with palms facing up and bend the elbows gently so the hands are close to the upper thighs. Begin to breathe normally and focus on taking deep inhalations and controlled exhalations. You can visualize that you have a ball of energy between your hands and you can start to play with this ball of energy. (Note in order to feel the energy it can be nice to rub your hands together for a minute. That makes it easier to feel the energy between your palms. Take a few breaths. Connecting with the earth
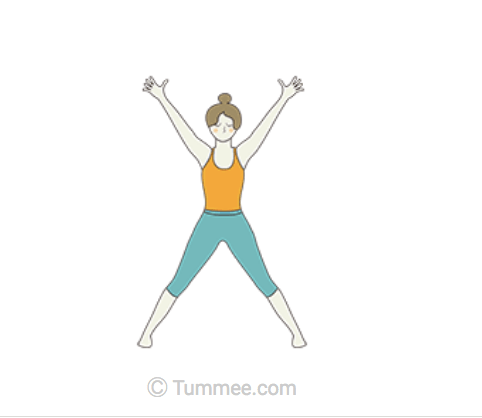
- Inhale and raise the arms sideways and outwards at a little more than shoulder level with the palms facing up. Stretch the arms, extending the elbows while feeling the stretch in the upper torso, close to the chest.While raising the arms up, make sure the shoulders, chest, and the neck are not strained. The stretch should be natural, smooth and strong.
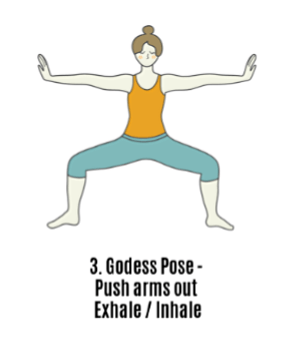
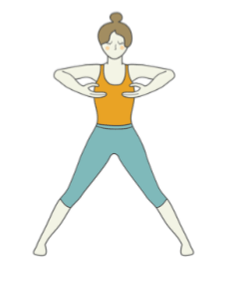
3. Exhale, walk the feet out, point toes outward and bend the knees gradually. As you do this, take the arms out sideways, flexing the wrists and extending the arms at shoulder level. Then bend the knees, taking the hips down in Horse Pose or Goddess Pose with Flexed Wrists (Vatayanasana Flexed Wrists). Imagine pushing two walls.
4. Inhale. Go deep into the pose.
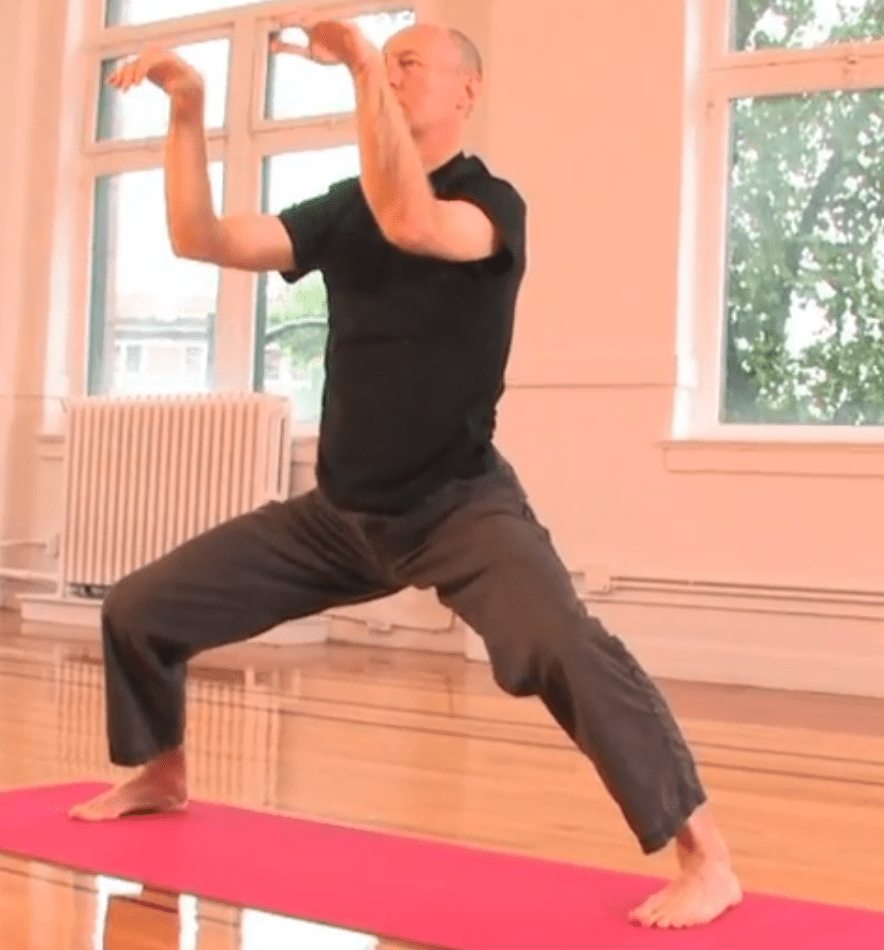
5. Exhale: Straighten the legs and fold. Taking the torso in a forward bend. The left foot points forward. Press the right foot down. Both hands meet on the mat. Fingers are facing each other. This is called the Elephant lays its trunk on the earth.

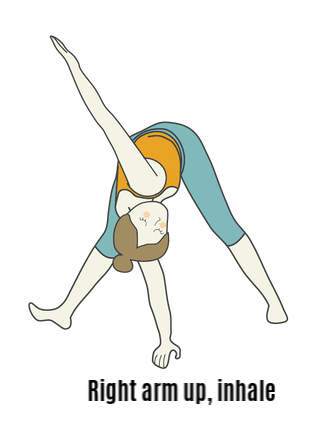
6. Inhale and raise the right arm up, twisting the hips, chest, and arms while lifting the left foot’s toes off the floor. Exhale, press the toes back on the floor and bring the arms to the center, hands on the mat fingers facing each other.
7. Switch side. Inhale, lifting the right foot up. Twisting the hips and the chest towards the left side, raise the left arm up and backwards. Twist the spine to the maximum using the diaphragm muscles as you take a deep breath. Open the chest out to extend the left arm.
8. As you exhale, bend down, moving into a low wide legged squat. Point feet forward and bring the hands together on the mat again.
9. Inhale, point the palms upward and draw your hands up to your heart.
10. As you exhale push the hands up to the sky as you bent your knees and squat down.
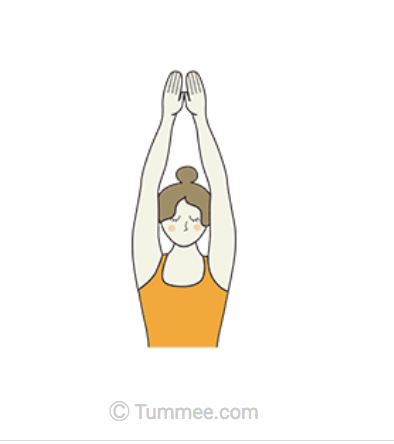
11. Inhaling. Straighten the knees, inhale and raise the torso up along with the hands and palms facing up.
Slowly raise the hands, torso, shoulders and chest, moving the energy upwards. Take your arms up as you continue to inhale, stretching them above your head. Feel the energy rise up and make the conscious effort to open up the chest and abdomen, stretching upwards
12. The dipping bird. Exhale and, in a flow, come down with the arms and the torso in a forward fold. This is done without bending the knees while extending the arms behind you. Take the chest and the neck deep inwards, closer to your legs as you exhale. This is called the dipping bird. Stretch the arms behind you as you bend in a forward fold, feeling the stretch around the upper back (upper spine) and chest.
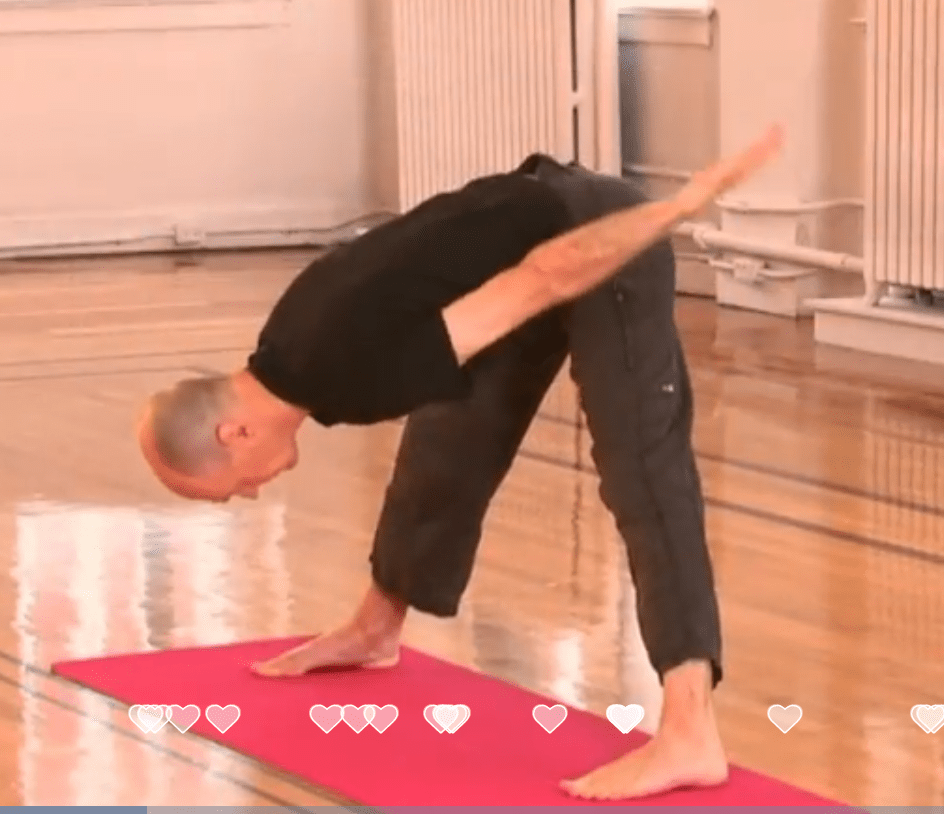
13. Inhale and bring the torso up to go to the pose called the Rocking Horse.Bend your knees squat don again, toes still pointed forward. Bring your elbows in front of you. Wrists relax.
14. Exhale and go back to the dipping bird. Exhale and, in a flow, come down with the arms and the torso in a forward fold. This is done without bending the knees while extending the arms behind you. Take the chest and the neck deep inwards, closer to your legs as you exhale.
15. Inhaling bringing your arms up. Straightening the legs.
16. Exhale. Folding your wings.Bringing the arms down.
17. Inhale: Find your Qi ball again.
18. Exhale and draw it to your heart. This completes the Golden Seed. Starting over again you start with strep 2 above: inhaling and bringing the arms up.
Repeat the entire sequence three to four times to bring energy in the body as the muscles around the spine stretch and warm up.
Ending the sequence, slowly release the arms from the top while bringing the energy down, first close to the chest, then to the abdomen, and finally settling down to the upper thighs. Bring your hands on your lower abdomen and connect with the earth.